Home- Blogs- Bearing Knowledge-Mounting Crossed Roller Bearings Correctly: Step-by-Step
Crossed roller bearings are used in robot joints, precision rotary stages, and CNC indexing tables, where a fraction of a micron of deviation changes performance. Unlike deep groove ball bearings, the cylindrical rollers here travel on crossed V-shaped raceways, which delivers high stiffness and rotational accuracy while making the bearing unusually sensitive to misalignment, shock loads, and contamination. Mounting it correctly is not merely good practice; it decides whether the bearing reaches its rated life or fails early through fretting, raceway brinelling, or cage fracture. The following sections walk through preparation, press fitting, preload, and verification to help you avoid the most damaging mistakes.
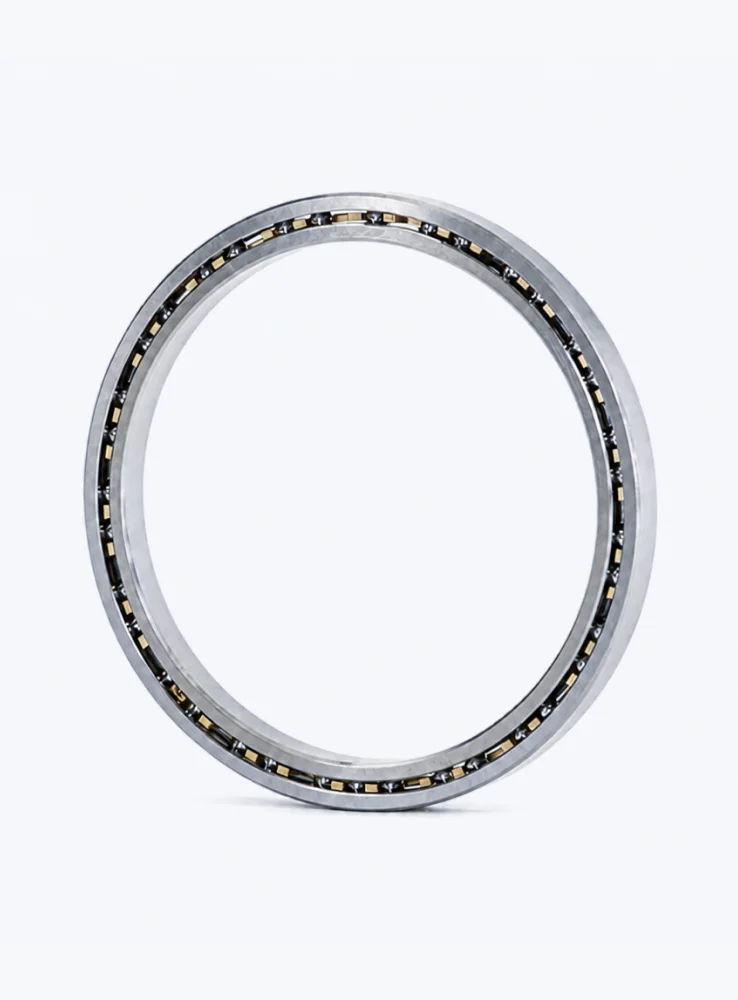
Compared with a standard radial bearing, a crossed roller bearing distributes load through alternating roller axes seated between two V-groove raceways. This design gives it high tilting stiffness and high radial and axial capacity in a compact cross-section. The same geometry, however, leaves very little margin for error.
Adjacent rollers are turned 90 degrees to one another, each making contact on a ground V-shaped raceway. When the bearing is pressed in at an angle, load concentrates on a small number of rollers during the first rotation. Under that concentrated pressure, raceway surfaces can brinell, creating permanent indentations that no later alignment can reverse. The damage shows up as torque ripple, running noise, and loss of accuracy, often progressing to complete failure after thousands of hours.
Crossed roller bearings are often supplied with either clearance or preload, but the running value is largely determined at installation. A press fit that is too tight squeezes the raceways and raises friction; one that is too loose lets the inner or outer ring creep under load, generating fretting wear debris. Correct mounting means choosing fits that hold the rings without distorting them, and that balance depends on housing material, wall thickness, and operating temperature, not on the bearing tolerance grade alone.
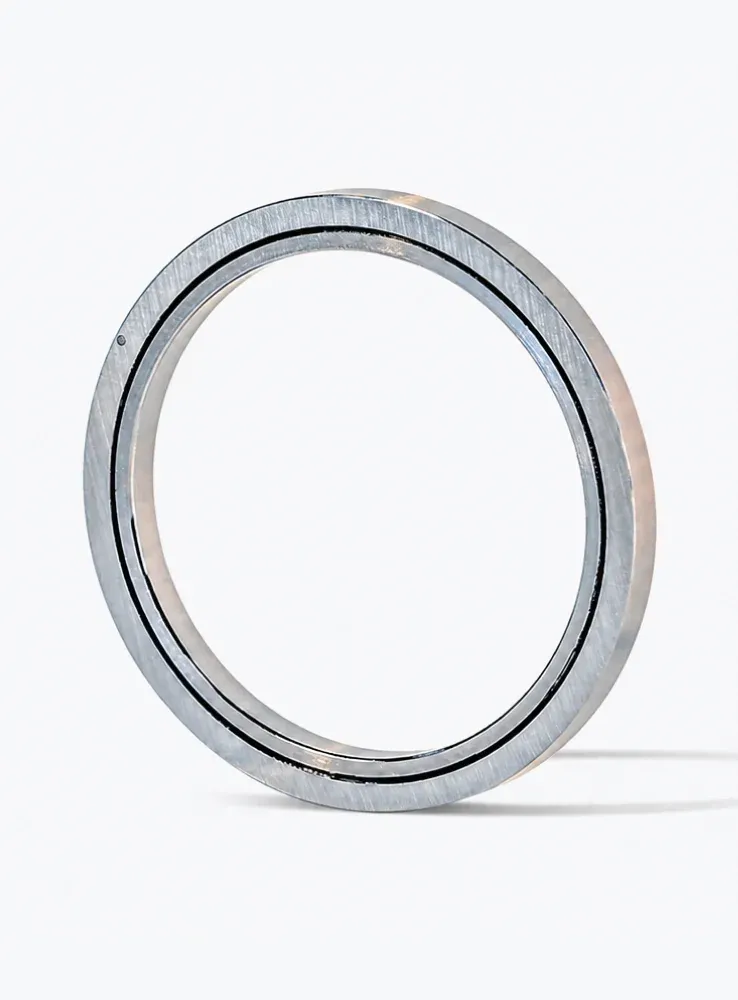
Most mounting failures begin before the bearing leaves its package. Three preparation steps determine whether the rest of the process succeeds.
Measure the shaft journal and housing bore with micrometers or a coordinate measuring machine before scheduling a press fit. Check roundness, cylindricity, and whether the shoulder is truly perpendicular to the axis. A tilted shoulder will distort the outer ring when bolts are tightened, producing the same load concentration as a cocked press fit. Both shaft and housing should be verified against a known gauge or master, not merely against the drawing tolerance.
Metal chips, burrs, or grinding dust become an abrasive paste during press fitting. Clean all mating surfaces with lint-free cloths and an approved solvent, then ensure they are fully dry before assembly. Bearings that have been opened should stay in their original packaging until the last moment, and they should never be blown with compressed air, which carries particles directly into the grease.
Let the bearing sit in the assembly area long enough to reach ambient temperature. A cold bearing in a warm housing changes fit after installation. Never install a precision bearing below room temperature without thermal stabilization. Handle with clean gloves or finger cots; bare-hand contact leaves corrosive fingerprints on raceway surfaces that become initiation sites for pitting.
Once preparation is complete, the sequence below keeps force paths clean and alignment verifiable.
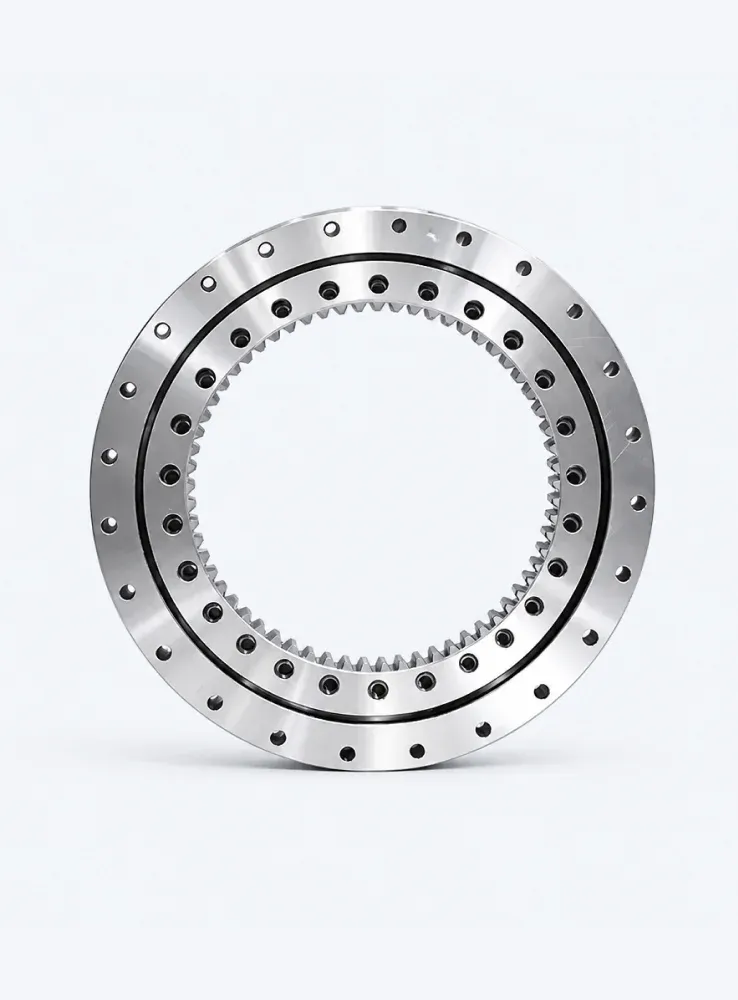
Mounting is not finished when the bearing is seated. Verification confirms the installation worked and establishes a baseline for later condition monitoring.
Turn the shaft by hand or at low speed. Look for roughness, periodic binding, or unusual noise. Resistance from a correctly mounted crossed roller bearing should feel smooth and consistent at low speed. If damping changes regularly, a raceway may be brinelled or contaminated.
During the first few hours of operation, record temperature and vibration near the housing and bearing. A slight warm-up during initial run-in is normal; a continuing temperature rise or growing vibration indicates incorrect preload, excess grease, or misalignment. Keep those readings as a reference for future monitoring.
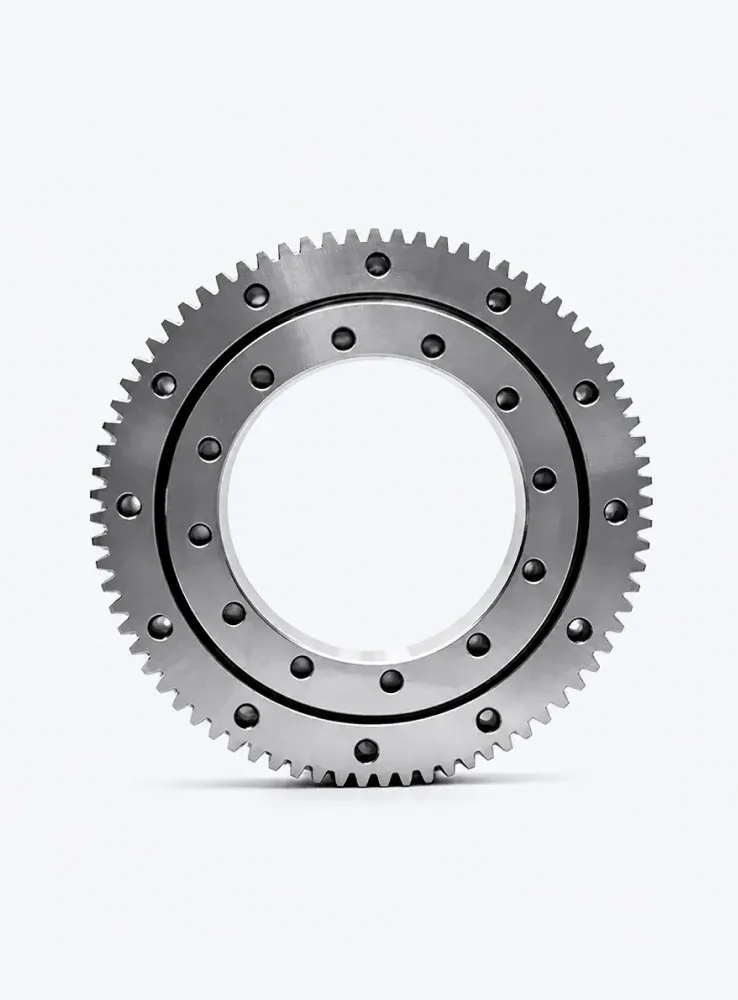
The precision of a crossed roller bearing is its greatest strength and its most fragile property. A correctly mounted bearing can outlast an incorrectly mounted unit of the same model by many times, and that difference comes entirely from preparation, press technique, and verification rather than from the bearing itself. BIBO Bearing supplies technical mounting guidance and fit recommendations for each precision bearing series, helping engineers establish the right assembly procedure from the start rather than diagnosing the failure afterward. Time spent on mounting preparation is always repaid in service life.
Preload and Stiffness in Crossed Roller Bearings Explained
Radial and Axial Load Capacity of Crossed Roller Bearings
Crossed Roller Bearings vs Tapered Roller: Key Differences
Crossed Roller Bearings Precision Motion Guide
Crossed Roller Bearing vs Slewing Ring: Which to Use?
OEM vs Aftermarket Crossed Roller Bearings: What to Pick